

Tips for installing house numbers into brick

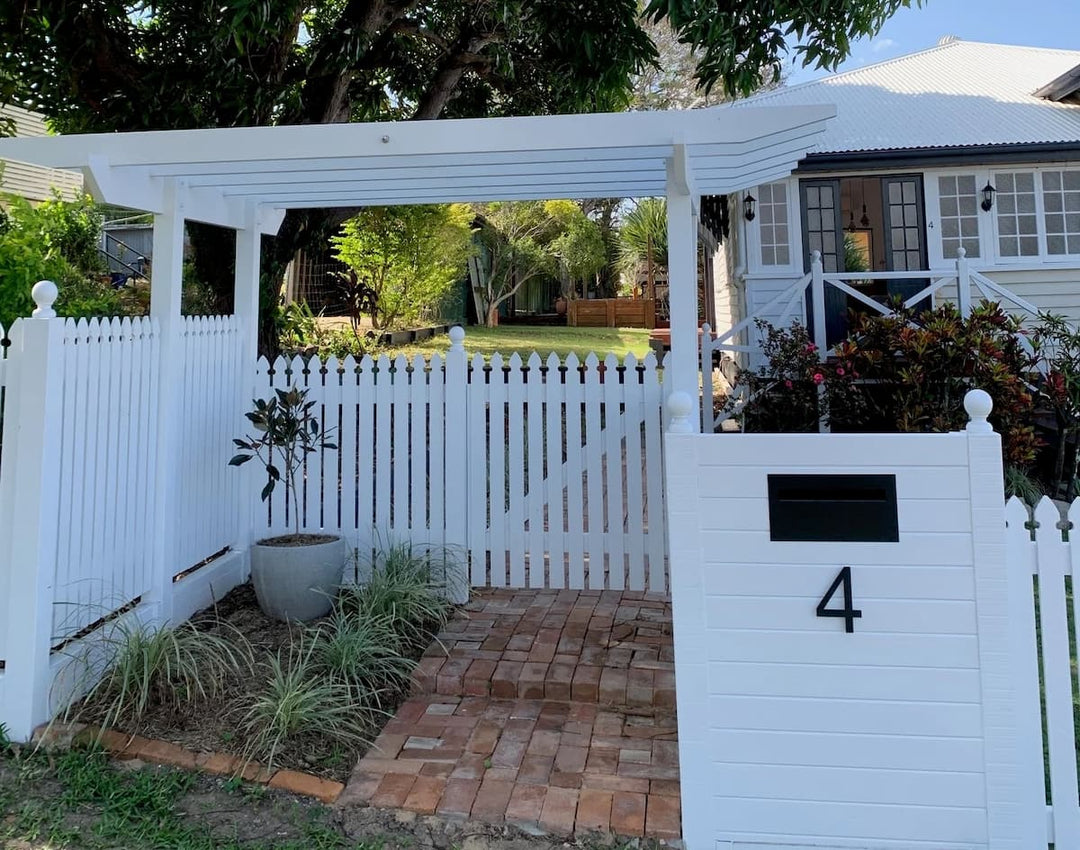
A brick surface is one of the most popular mounting surfaces for installing house numbers. As this placement is likely at the front of your property, in a highly visible location, it’s also important to ensure any drilling or modification of brick walls doesn’t leave them looking a mess!
When it comes to mounting numbers on a brick surface, there’s a few considerations and tips to work through. This blog post is here to guide you through the process of installing house numbers into brick, ensuring they’re secure, visible, and aesthetically pleasing.
Required Tools and Materials
Before we dive into the installation process, let’s make sure you have everything you need.
To start with, you’ll need
- Your new house numbers
- Installation template
- Rods and spacers
- Epoxy adhesive eg Selleys Araldite. We like the 5 minute Selleys Araldite as this gives you a little bit of time to get the fixing right. We also like the option of the mixing tube that comes with the ‘Selleys 24ml Araldite 5 Minute Epoxy Glue’.
Tools required
A power drill
This can be a cordless or a 240v corded drill. Ideally, this drill has the hammer setting. There are a lot of different hammer drills on the market, the drill that we use when installing numbers is the Makita 18V Brushless Compact 18MM Rotary Hammer DHR183Z
The hammer setting on a drill is a feature designed to make drilling into hard, brittle surfaces like concrete, brick, or stone more efficient and effective. When you use a drill with a hammer setting, it not only rotates the drill bit but also adds a forward, pounding motion, much like the action of a hammer.
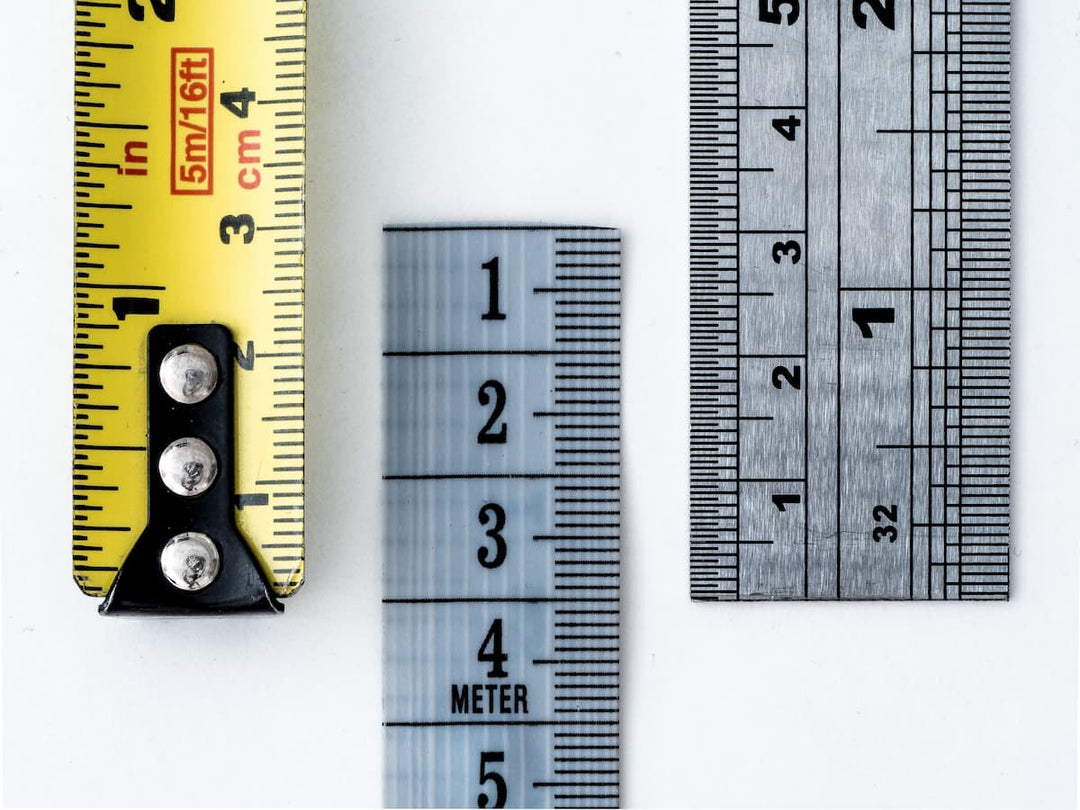
A 5mm masonry bit
A normal drill bit works great with timber, but isn’t suitable for hard surfaces. A masonry drill bit is a specialised type of drill bit designed specifically for drilling into hard, brittle surfaces such as brick, stone, concrete, or tiles. These materials require a drill bit that can withstand the tough conditions and abrasiveness of masonry work.
Safety goggles and gloves
These are always a must when working with power tools.
A few other important items
Spirit level
It’s important to make sure your house numbers are installed in exactly the right position, as this is difficult to change later.
Masking tape
In some situations when the drilling surface is very brittle, a pro tip is to drill through a strip of the tape. This helps to reduce the amount of damage around the desired hole location. You’ll also need the masking tape to tape up your installation template to the wall.
The installation process
1. Using the installation template
Each Peninsula House Numbers order comes with a template that’s unique to your house number size, font and the numbers or letters you require. This may likely be a couple of separate A5 or A4 pieces of paper, which allows you to decide on the kerning - space between each number. This is a personal choice, some people like their house numbers to be spaced further apart, while others like the look of numbers being close together. As a very general rule of thumb, for a 100mm height house number, we like to allow around 10mm between numbers, so a 10% kerning.
When taping the template/s at desired location you will need to use a spirit level to align it. A consideration… is that not all houses and brick walls are built completely straight. So you may decide to go off the line of an exposed brick, rather than the spirit level.
2. Drilling into your brickwork
Drilling into brick can be intimidating, but with the right technique, it’s a breeze:
Put on your safety goggles and gloves.
Put the 5mm masonry drill bit in to the drill.
Switch the drill on to the hammer setting. Some drills have 3 options; drill, hammer, hammer and drill. You’ll want the third option - hammer and drill.
Using your power drill with a masonry bit, drill holes at your marked points. Go slow to start as the drill can jump around a bit at the beginning. Once the
3. Attaching the rods to the house numbers
Each house number comes pre-drilled with holes at the back. We don’t design our numbers to be drilled through the front, so as to avoid visible fixing screws. You’ll need to apply a very small amount of epoxy adhesive to one end of the rods, i.e. about the amount of a match head. Then insert the rod in the hole in the back of the number and wait for it to dry. You may need to tap lightly with a hammer, but just make sure you’re being careful to protect the face of the number to avoid any scratches.
Epoxy Adhesive has a bit of give white it’s setting, so try to make sure the rod is upright rather than on an angle.
Wait at least 5 minutes for the epoxy adhesive to dry. In hot conditions, the drying time is significantly reduced.
4. Floating or flush mount
You’ll now need to decide if you’d prefer a floating mount of a flush mount. A flush mount simply means that the number is directly against your brick surface, while a floating mount house number has a small 5mm gap. The gap creates a shadow line, which in some cases can look more dynamic and interesting [it’s our preferred method].
To achieve the floating mount you’ll just need to slide the included spacers over each of the rods.
5. Inserting the numbers in to place
Finally it’s time to put the numbers in place, and wrap up the installation!
Apply a very small amount of epoxy adhesive to the end of the exposed rods. Again, only use a small amount or it can get messy. Push the numbers into the holes, being very careful not to scratch or damage the face of the number.
Repeat for each number or letter.
After allowing some time for the epoxy adhesive to dry, make sure each number is secure in place. If not, add a little more epoxy adhesive and re-insert.
Step back and admire your handiwork.
Alternatives to Drilling
Not keen on drilling? There are adhesive options designed for brick surfaces. While they’re easier to install, keep in mind they may not be as durable as drilled installations, especially in harsh weather conditions. An Epoxy Adhesive is a good general option, but there may be other adhesives more suitable for your specific surface.
Conclusion
Installing house numbers on a brick surface doesn’t have to be daunting. With the right tools, a bit of planning, and a little patience, you can enhance your home’s kerb appeal and ensure it’s easily found when it matters most. So, roll up your sleeves and get ready to give your home a small but significant upgrade!

Leave a comment